
Step 8: Re-draw the image full-size on cheap copy paper. (I tape sheets together if one isn't big enough.) Sometimes I enlarge and trace my thumbnail, sometimes I use an intermediary sketch (like when the client needs to see the sketch, I do a prettier one for them). Either way, any number of departures are made at this stage; this is where I really make use of my reference material if I need to. (Is that hair ornament the right one for the time period? Do people's elbows really bend that way? Is this linear perspective believable?) Erase and revise with abandon.
 |
| Ready to paint! |

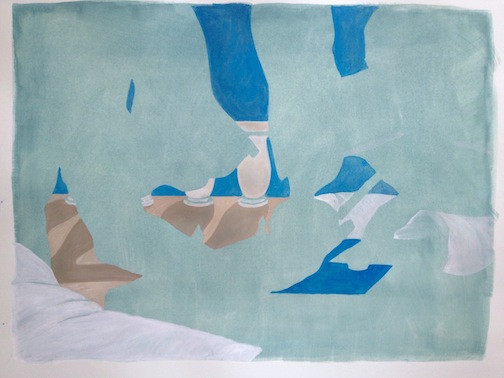
Step 10: Painting! All the decision-making and hard work is done; now it's time to just relax and color. For this set, I did a light wash of color over the whole paper first, which can help keep the colors harmonious, but isn't good if you want a true, transparent watercolor look.
I paint backgrounds first and figures last; I have a tendency to go too light on the figures if I paint them against a white background.
 They probably taught me that in art school, but I had to do
it wrong a bunch of times before it sank in.
They probably taught me that in art school, but I had to do
it wrong a bunch of times before it sank in.I come back afterwards and do some clean up with ink, pencil, or more opaque paint and a tiny brush. I'll darken, highlight or define certain areas using my references as a guide if I have them. (In this case I didn't use much direct reference--I only had a day to paint each of these, so the people and settings are basically made-up after glancing at some pictures.)
As soon as it's dry I pull off any tape, staples, etc., sign it, photograph or scan it, file it, package or frame it and get it where it needs to go on time.
Have a creative and productive work day!
Update: All four finished paintings have now been sold. If you would like to commission similar ones, please let me know!
No comments:
Post a Comment